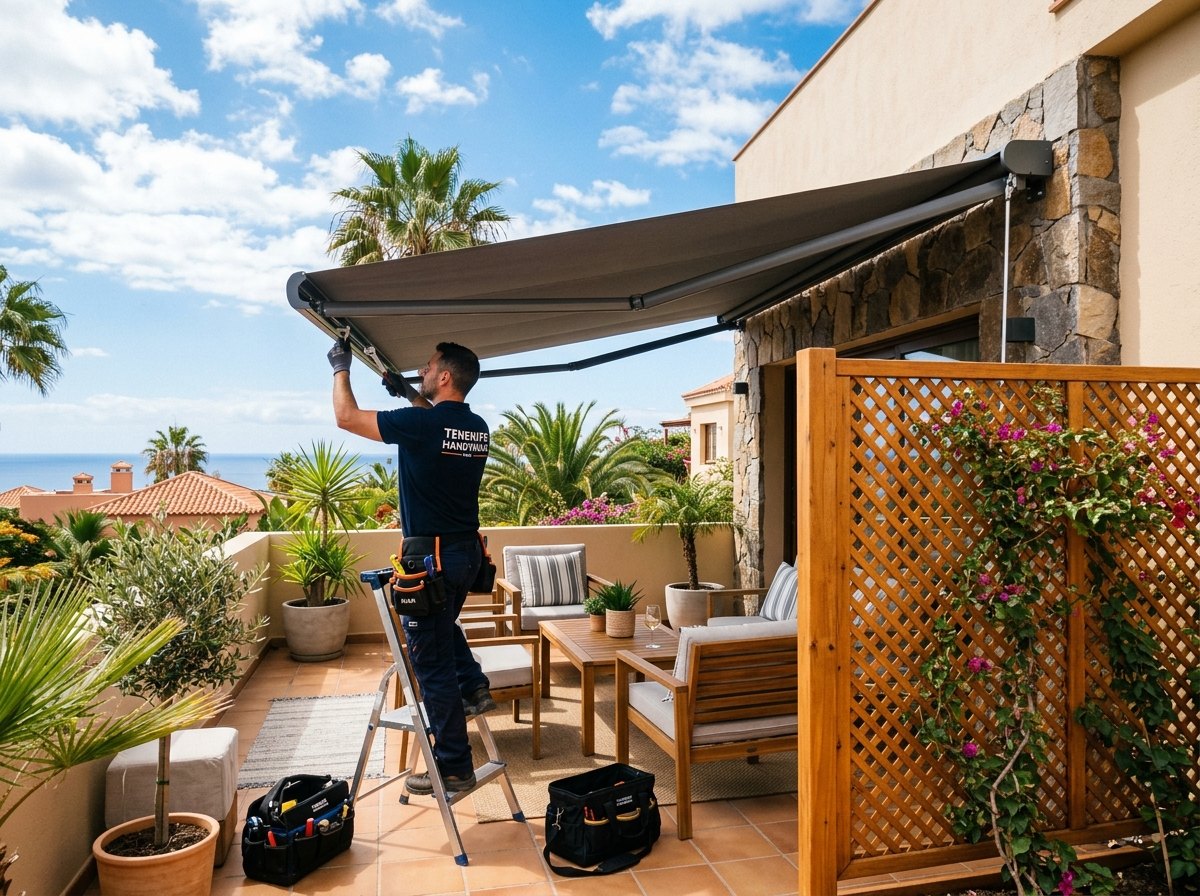
Step-by-Step Tutorial: How to Install Retractable Folding Arm Awnings & Wind-Resistant Terrace Screens in Tenerife
Chemical anchor installation with stainless steel threaded rods for high wind load on Canary facades, folding arm levelling, slope drainage pitch and terrace privacy screen fitting.
Informational Notice: This tutorial and its instructions are provided strictly for general educational and informational purposes. They do not constitute binding technical advice or formal engineering recommendations. If you lack prior experience or tools, we advise contacting a certified Handyman Tenerife professional.
Before You Begin: Safety Protocol
- 1. Check ceiling clearance: mount awning at 2.60m - 2.80m height so a 15° slope leaves at least 2.00m headroom.
- 2. Verify community of owners (HOA) regulations regarding canvas color codes before purchasing.
- 3. Always handle installation with 2-3 persons due to heavy awning weight.
📦 Materials Required
- ✓ Retractable folding arm awning kit (canvas, roller tube, arms, wall brackets)
- ✓ Fast-curing vinylester chemical anchor cartridge & static mixer nozzles
- ✓ Nylon mesh chemical sleeves (16x130 mm)
- ✓ M10 / M12 zinc-plated threaded steel rods with nylon locknuts & heavy washers
- ✓ Autoclave treated timber or composite privacy lattice with aluminum U-channels
🛠️ Recommended Tools
- 🔧 Heavy-duty rotary hammer drill with 16mm long masonry bit
- 🔧 Blow-out bulb pump and steel wire brush to clean dust from drill holes
- 🔧 Long 1-meter spirit level or cross-line laser
- 🔧 Socket ratchet set (17mm, 19mm)
- 🔧 Heavy-duty chemical caulking gun and Allen keys (5mm/6mm)
- 🔧 2 stable stepladders
📋 Step-by-Step Project Guide
Step 1: Facade bracket layout and laser levelling
Mark the horizontal mounting line with a laser level. Position the wall brackets directly where the folding arms mount to ensure direct load transmission, and mark drill points.
Position main brackets directly behind arm pivot joints for optimal mechanical leverage.
Step 2: Drilling, dust blowout and chemical resin injection
Drill 16mm holes to 130mm depth. Blow out dust 3 times with a pump and wire brush. Insert the nylon mesh sleeve, fill with vinylester chemical resin from the back, and twist the M10 threaded rod into place.
CRITICAL: Thorough hole cleaning accounts for 90% of chemical anchor strength. Never inject resin into dusty holes.
Step 3: Mounting brackets and lifting awning assembly
After 25-30 minutes cure time, attach the wall brackets with heavy washers and tighten nuts with a socket wrench. With 2-3 persons, lift the awning tube into the brackets and tighten security lock bolts.
Confirm bracket retention pins are fully locked before releasing the awning weight.
Step 4: Pitch slope and arm balance adjustment
Extend the awning 1 meter using the crank handle. Loosen the pitch adjustment bolts on the arm knuckles and set the slope to at least 14°. Retighten and verify both arms extend evenly.
Inadequate pitch causes rainwater pooling, which can bend the articulated arms under heavy load.
Step 5: Installing privacy lattice screens and terrace shields
Fix aluminum U-channel profiles to walls or railings. Slide in treated timber or composite lattice panels and fasten with stainless self-tapping screws, leaving 5mm expansion gaps.
On wind-exposed Tenerife terraces, add vertical reinforcement posts every 1 meter to prevent panel flex.
📊 Technical Specifications Sheet
| Wind resistance class | Class 2 (resists up to 38 km/h sustained wind) |
|---|---|
| Min pitch slope | 14° to 20° (to drain rainwater and prevent pooling) |
| Structural anchor type | Vinylester chemical resin + M10/M12 grade 8.8 steel rods |
| Fabric spec | Solution-dyed acrylic canvas 300g/m² with UV 80+ protection |
🧱 Wall Anchor Selection Guide for Tenerife
Reinforced concrete lintel or structural facade beam
Recommended Plug: Vinylester chemical anchors or heavy-duty Fischer M12 steel bolts
💡 Ideal mounting surface; easily withstands high leverage forces exerted by the open awning.
Hollow Canary volcanic cinder block wall
Recommended Plug: Nylon mesh injection sleeve (16x130mm) + Chemical resin + M10 150mm threaded rod
💡 Injection mesh sleeves are MANDATORY to form a solid mechanical knot inside hollow volcanic block cavities.
🧹 Maintenance & Aftercare Tips
- Always retract the awning during strong wind or storm warnings.
- Clean canvas with lukewarm water and neutral soap; avoid high-pressure washers that strip water-repellent coatings.
- Lubricate arm pivot joints with dry PTFE Teflon spray once a year.
- Apply UV-filtering breathable wood stain to timber screens every 2 years to counter intense Canary sunshine.
❓ Frequently Asked Installation Questions
Q: Can an awning withstand typical Tenerife winds?
A: CE Class 2 awnings withstand moderate breezes up to 38 km/h. With chemical anchors, wall fixings remain rock-solid, though retraction is advised during gusty trade winds.
Q: What is the minimum slope required for an awning?
A: A minimum of 14° slope (approx. 25 cm drop per meter of extension) is required to ensure smooth rainwater runoff.
Awnings, Pergolas & Terrace Privacy Screens in Tenerife
Secure mounting of folding arm awnings, privacy lattice panels and garden screens on Tenerife terraces.
Prefer a professional handyman to install it for you?
Save time and tool costs. At Handyman Tenerife, we come equipped with professional materials and specialized anchors for your exact wall type.
💬 Request Quote via WhatsApp (+34 657 674 026)