Step-by-Step Tutorial: How to Install a Tempered Glass Shower Screen and Apply Anti-Mould Sanitary Sealing
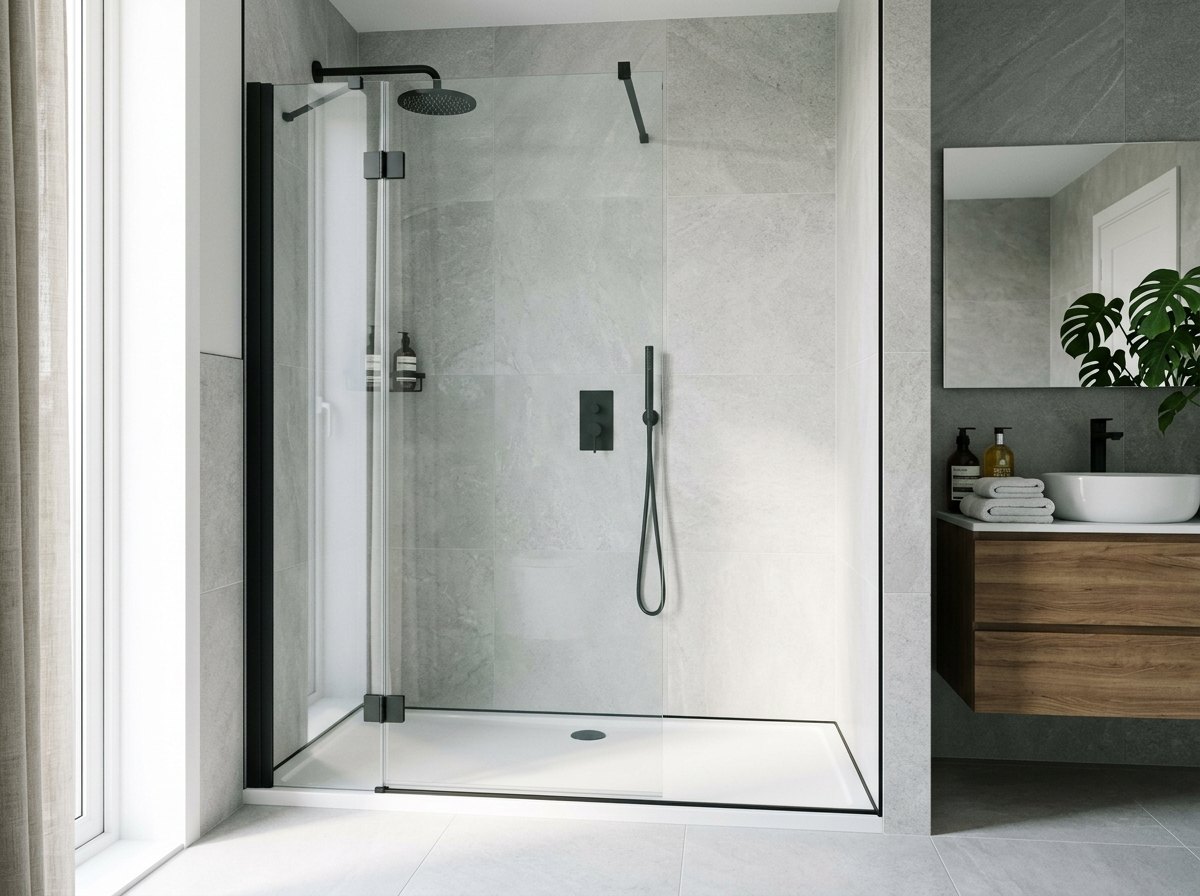
Professional tutorial for mounting sliding and walk-in tempered glass shower screens (6-8mm): porcelain tile drilling techniques, bearing alignment and the exterior-only sanitary silicone rule.
Informational Notice: This tutorial and its instructions are provided strictly for general educational and informational purposes. They do not constitute binding technical advice or formal engineering recommendations. If you lack prior experience or tools, we advise contacting a certified Handyman Tenerife professional.
Before You Begin: Safety Protocol
- 1. NEVER rest raw tempered glass corners directly on bare ceramic tiles; always use cardboard or rubber buffers.
- 2. Verify wall plumbness and shower tray levelness with a laser level.
- 3. Thoroughly clean and degrease tile surfaces with alcohol before applying profiles.
📦 Materials Required
- ✓ Tempered glass shower enclosure kit (panels, profiles, bearings, seals)
- ✓ High-grade sanitary neutral anti-mould silicone cartridge with fungicide
- ✓ Painter's masking tape for crisp, neat silicone joint lines
- ✓ Stainless steel screws and tile-grade nylon wall plugs
- ✓ Plastic setting blocks / spacers to protect glass edges during fitting
🛠️ Recommended Tools
- 🔧 Variable-speed drill with 6mm porcelain / diamond core bit
- 🔧 Long spirit level (min 80cm) or self-levelling cross-line laser
- 🔧 Professional silicone caulking gun
- 🔧 Silicone sealant smoothing tool / profiling spatula
- 🔧 Screwdrivers, tape measure and pencil
- 🔧 Glass suction cups for safe panel handling
📋 Step-by-Step Project Guide
Step 1: Positioning and levelling the wall compensation profiles
Place the vertical aluminum profile onto the shower tray rim (leaving 5-10mm safety margin from the outer edge). Plumb it with a laser level and mark the drill holes on the tile with a pencil.
Stick masking tape over the drill marks to prevent the drill bit from skating across the glossy ceramic glaze.
Step 2: Tile drilling and profile fixing
Drill at low RPM in ROTATION ONLY mode (no hammer action). Cool the diamond bit with water. Once through the tile glaze into the wall substrate, switch to light hammer mode. Insert wall plugs and screw the profile firmly into place.
Inject a dab of silicone into each plug hole before driving the screw to waterproof the hole inside the wall.
Step 3: Assembling fixed glass panels and track rails
Assemble the top and bottom guide tracks with side frames. Slide fixed glass panels into their rubber gasket channels. Using glass suction cups and a partner, seat the frame into the wall compensation profiles.
Leave the wall profile locking screws loose until the entire frame is squared and checked for squareness.
Step 4: Hanging sliding doors, roller bearings and magnetic seals
Mount top and bottom roller wheel assemblies to the sliding glass leaves. Hang the glass onto the top rail and click the spring-loaded bottom guides into place. Adjust the eccentric bearing screws until magnetic gaskets seal flush.
Ensure bottom drip strips have their deflectors pointing inwards towards the tray drain.
Step 5: The golden rule of anti-mould sanitary silicone sealing
Mask tile joints with tape 3mm from the frame. Apply a continuous bead of sanitary neutral anti-mould silicone ONLY along the EXTERIOR perimeter where frame meets wall and tray. Smooth with a soap-wetted profiling tool and peel tape.
GOLDEN RULE: NEVER silicone the inside bottom track. If you seal inside, water trapped inside the profiles cannot drain back to the tray, causing black mould within months.
📊 Technical Specifications Sheet
| Safety glass thickness | 6 mm (sliding screens) to 8 mm (walk-in fixed panels) |
|---|---|
| Surface coating | Toughened safety glass with EasyClean anti-limescale shield |
| Frame material | Anodized aluminum or corrosion-resistant stainless steel |
| Wall out-of-plumb margin | Up to 15 - 20 mm per wall profile compensation |
🧱 Wall Anchor Selection Guide for Tenerife
Porcelain or ceramic tiled bathroom wall
Recommended Plug: Fischer DuoPower 6x30mm or SX 6x50mm nylon plugs with stainless steel screws
💡 Always drill in rotary mode WITHOUT hammer impact using water-cooled diamond or porcelain carbide bits.
🧹 Maintenance & Aftercare Tips
- Allow the silicone sealant to cure for a full 24 hours before using the shower.
- Squeegee the glass panels after every shower to prevent Tenerife hard water calcification spots.
- Clean profiles with neutral soap; avoid aggressive bleach that strips the anodized aluminum finish.
- Spray roller bearings with pure silicone lubricant once a year for silent gliding.
❓ Frequently Asked Installation Questions
Q: Why did my previous shower screen grow black mouldy silicone?
A: 90% of the time this is caused by two errors: using generic cheap silicone instead of fungicide sanitary neutral silicone, or sealing the interior bottom rail, trapping stagnant water.
Q: What glass thickness is best: 6mm or 8mm?
A: For sliding enclosures, 6 mm is optimal: high structural rigidity without straining roller wheels. For walk-in fixed panels, 8 mm gives maximum premium rigidity.
Shower Screen Installation & Sealing in Tenerife
Fitting of sliding & fixed tempered glass shower screens and professional anti-mould sanitary silicone sealing.
Prefer a professional handyman to install it for you?
Save time and tool costs. At Handyman Tenerife, we come equipped with professional materials and specialized anchors for your exact wall type.
💬 Request Quote via WhatsApp (+34 657 674 026)