Step-by-Step Tutorial: How to Install Antibumping Cylinders & Smart Locks for Holiday Rentals in Tenerife
Learn how to upgrade europrofile cylinders to high-security antibumping locks and fit Nuki or Yale smart locks with outdoor keypads for automated guest check-ins in Tenerife.
Informational Notice: This tutorial and its instructions are provided strictly for general educational and informational purposes. They do not constitute binding technical advice or formal engineering recommendations. If you lack prior experience or tools, we advise contacting a certified Handyman Tenerife professional.
Before You Begin: Safety Protocol
- 1. Ensure the internal cylinder cylinder protrudes at least 3 mm to clamp the mounting plate securely.
- 2. Check that the door latch and deadbolt turn smoothly without catching on the door frame strike plate.
- 3. Have the 2.4 GHz home WiFi network credentials ready to connect the smart bridge.
📦 Materials Required
- ✓ High-security europrofile dual-clutch cylinder with restricted copy keys
- ✓ Smart lock kit (Nuki Smart Lock / Yale Linus) with mounting base plate
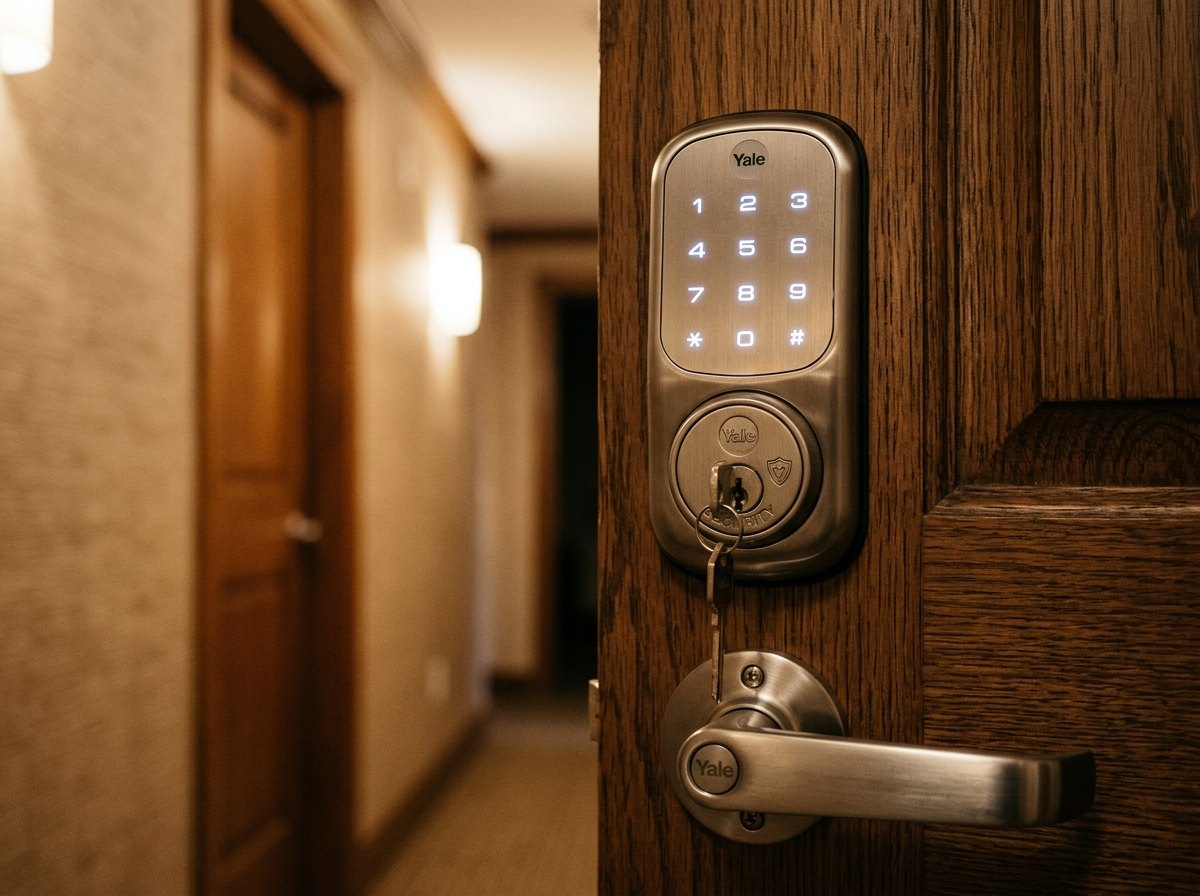
- ✓ Wireless outdoor Bluetooth keypad with PIN code or fingerprint reader
- ✓ WiFi bridge gateway for remote guest authorization
- ✓ Dry graphite lock lubricant spray (non-greasy formula)
🛠️ Recommended Tools
- 🔧 Crosshead screwdriver (Phillips PH2 / PZ2)
- 🔧 Allen key 2mm / 2.5mm (included in smart lock kit)
- 🔧 Vernier caliper or millimeter ruler to measure cylinder offset
- 🔧 Isopropyl alcohol to degrease door surface before plate adhesion
📋 Step-by-Step Project Guide
Step 1: Removal of old cylinder and precise measurement
Open the door and locate the M5 fixing screw on the door edge at the cylinder level. Unscrew it. Insert the original key, turn it 15° to align the cam with the lock body, and pull gently inwards to slide out the cylinder.
Measure exact distance in mm from screw hole to both sides (e.g. 30mm inside / 40mm outside) so the outer face sits flush with the escutcheon.
Step 2: Installing the high-security dual-clutch cylinder
Apply dry graphite powder and slide the new cylinder into the lock mortise with the cam turned 15°. Once centered, thread the M5 fixing screw back into the door edge and tighten securely.
The dual-clutch feature is vital: it allows mechanical key entry from the outside even when the smart lock is engaged inside.
Step 3: Mounting the smart lock base plate
Clean the door face with isopropyl alcohol. Place the base plate over the cylinder. If the cylinder protrudes 3mm+, tighten the 3 Allen grub screws on Plate A. If flush, mount Plate B using the industrial grade adhesive pad.
Ensure the base plate is perfectly concentric with the keyway axis to prevent motor friction and premature battery drain.
Step 4: Smart lock mounting and motor calibration
Insert a physical key into the interior cylinder slot. Clip the smart lock unit onto the base plate until you hear the locking click. Open the smartphone app and run the automatic calibration sequence to map lock turns and latch retraction.
Enable 'hold latch' feature if your entrance door has a fixed exterior knob, allowing guests to enter without physical keys.
Step 5: Outdoor keypad fitting and WiFi bridge configuration
Mount the wireless Bluetooth keypad onto the outdoor wall or doorframe using weather-resistant 3M tape or security screws. Plug the WiFi Bridge within 5 meters of the door to enable remote code management for holiday rental guests.
Set 6-digit PIN codes tailored to guest booking check-in/out dates, automatically enabling access from 15:00 and revoking at 11:00.
📊 Technical Specifications Sheet
| Cylinder standard | Europrofile DIN 18252 |
|---|---|
| Clutch mechanism | Dual clutch / Emergency function (Required for smart locks) |
| Physical defense | Antibump, antipick, antill-drill and reinforced antisnap bridge |
| Battery life | 4 to 6 months with AA batteries or USB-C rechargeable pack |
🧱 Wall Anchor Selection Guide for Tenerife
Armored or reinforced front entrance door
Recommended Plug: M5 metric fixing screw (70mm to 90mm length)
💡 Precisely measure distance from center screw hole to inner and outer face of the security escutcheon.
🧹 Maintenance & Aftercare Tips
- Replace batteries when the app reports 20% charge remaining to ensure consistent motorized torque.
- Never use liquid oils or standard WD40 inside lock keyways; use only dry graphite powder to prevent dust buildup.
- Check strike plate alignment every 6 months to ensure the door closes smoothly without motor strain.
- Keep a backup mechanical key securely stored outside the property for emergency master access.
❓ Frequently Asked Installation Questions
Q: What happens if smart lock batteries run out?
A: The device gives multiple low-battery warnings weeks in advance. If batteries die completely, you can always unlock from outside using your traditional mechanical key via the dual-clutch cylinder.
Q: Is it legal to use smart locks in Tenerife holiday rentals?
A: Yes, it is 100% legal and recommended for automated guest check-in, provided guests are registered with official local police tourist records.
Q: Can a smart lock be fitted to any door?
A: It fits 98% of doors with standard European profile cylinders. Doors with old lever tumbler locks require a cylinder conversion plate.
High-Security Locks & Smart Keypads in Tenerife
Antibumping cylinder upgrades, smart lock installations (Nuki/Yale) and deadbolts for homes and holiday lets.
Prefer a professional handyman to install it for you?
Save time and tool costs. At Handyman Tenerife, we come equipped with professional materials and specialized anchors for your exact wall type.
💬 Request Quote via WhatsApp (+34 657 674 026)