Step-by-Step Tutorial: Repairing Wall Cracks, Priming & Seamless Paint Touch-ups
Professional painter secrets: 'V'-grooving active settling cracks, fibreglass-reinforced elastic filler, primer bonding agents and seamless paint blending without visible halos.
Informational Notice: This tutorial and its instructions are provided strictly for general educational and informational purposes. They do not constitute binding technical advice or formal engineering recommendations. If you lack prior experience or tools, we advise contacting a certified Handyman Tenerife professional.
Before You Begin: Safety Protocol
- Mask baseboards, floor edges and switches with tape and plastic sheets before starting.
- Identify whether the crack is superficial settling or structural. If exceeding 5mm, consult a structural surveyor.
- Brush out all loose dust from inside the groove to allow full filler adhesion.
- For large rooms or moisture stain remediation, check our painting & home repair services in Tenerife.
📦 Materials Required
- ✓ 1x Tub of fibreglass-reinforced elastic crack filler (Aguaplast Fibra or equivalent)
- ✓ 1x Bottle of water-based penetrating acrylic primer sealer
- ✓ 1x Roll of 50mm self-adhesive fibreglass scrim mesh tape
- ✓ 1x Tin of high-opacity washable matt emulsion paint (color-matched to wall)
- ✓ Sandpaper sheets (P-180 and P-240 grit) with foam sanding block
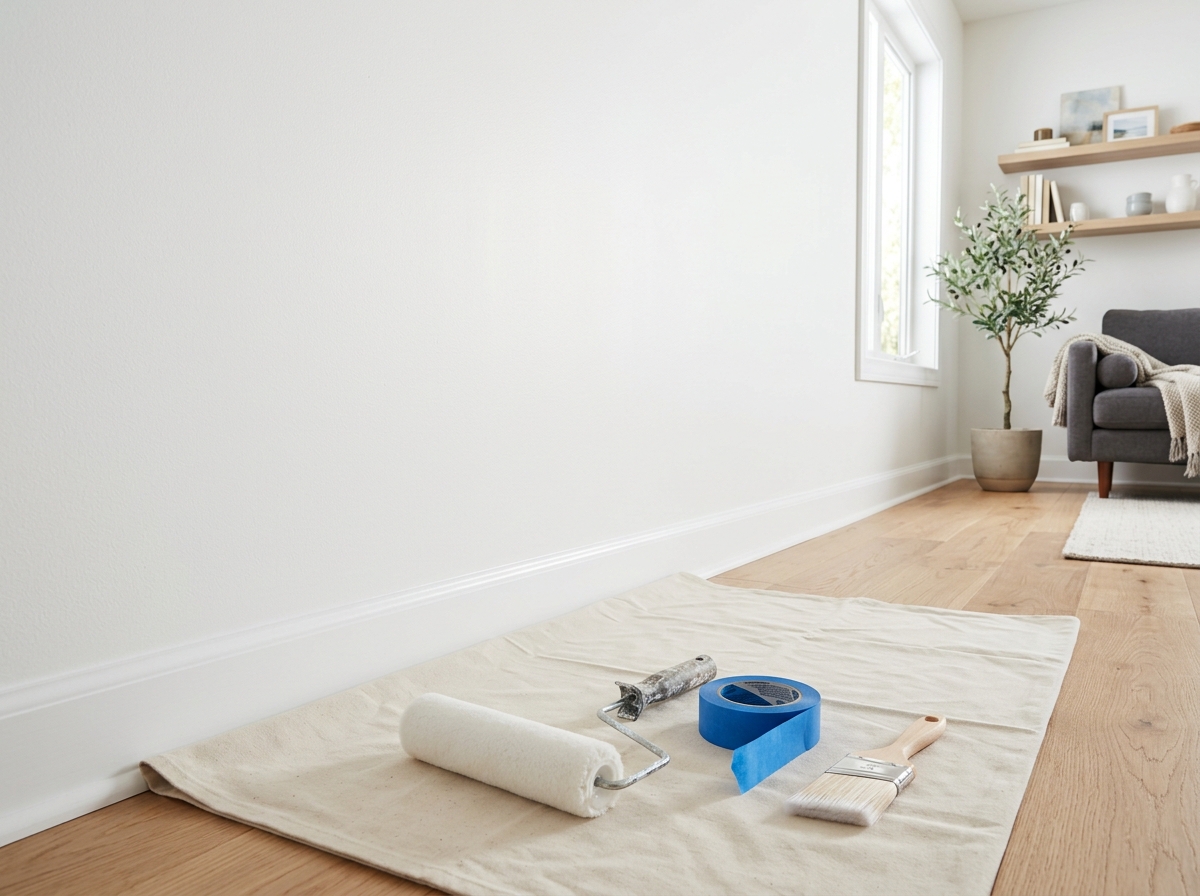
- ✓ 45mm painter's masking tape and protective floor dust sheets
🛠️ Recommended Tools
- 🔧 Stainless steel jointing taping spatulas (5cm and 15cm)
- 🔧 Triangular paint scraper or old flat chisel to V-groove crack
- 🔧 Short-pile anti-drip paint roller (10-15cm) with paint tray
- 🔧 Precision synthetic cutting-in trim paintbrush
- 🔧 Dusting brush and clean damp sponge
📋 Step-by-Step Project Guide
V-grooving and cleaning out the crack
Run a triangular scraper along the full length of the crack opening it into a 3-4mm wide 'V' shape. Remove all loose, flaking plaster and sweep clean with a dry dusting brush.
If you don't V-groove the crack, filler only skims the surface and thermal expansion will cause the crack to reappear within months.
Applying penetrating primer into the channel
Brush diluted acrylic primer into the open groove. Allow 20 minutes to dry. The primer stabilizes loose plaster dust and forms a strong bonding bridge for the filler.
Primer stops dry porous plaster from sucking moisture out of the wet filler, preventing premature cracking during cure.
Applying flexible fibreglass filler & mesh tape
Press elastic filler firmly into the bottom of the V-groove using a 5cm spatula. For dynamic movement cracks, bed fibreglass mesh tape into the wet filler and smooth over with a 15cm taping spatula.
Leave filler slightly proud (1mm) above wall level, as all fillers contract slightly as water evaporates during curing.
Fine sanding and skim coat application
Once dry (2-3 hours), sand with P-180 grit on a foam block using light circular motions. If micro-pinholes remain, apply a paper-thin finish skim coat and sand with P-240 for a flawless surface.
Close your eyes and run your fingertips over the repaired area: your sense of touch detects microscopic ridges invisible under direct light.
Spot priming and seamless paint blending
Apply a light coat of primer over the sanded filler. Using a short-pile mini roller, apply the first coat over the patch. On the second coat, feather the edges outward with light pressure to blend seamlessly.
For an invisible finish on walls painted over 2 years ago, roll the entire wall section corner-to-corner.
📊 Technical Specifications Sheet
| V-groove depth | Between 3 mm and 5 mm to ensure deep filler penetration |
|---|---|
| Inter-coat drying time | 2 to 4 hours for filler / 4 to 6 hours for matt emulsion paint |
| Emulsion paint coverage | 10 - 12 m² per litre per applied coat |
| Recommended sandpaper grit | P-120 for initial flattening / P-240 for ultra-smooth scratch-free finish |
🧱 Wall Anchor Selection Guide for Tenerife
Plaster or sand-cement skimmed internal walls in Tenerife
Recommended Plug: Fibreglass-reinforced elastic flexible filler + Acrylic waterborne penetrating primer
💡 In coastal or humid North Tenerife homes, apply anti-mould penetrating primer before topcoat application.
Drywall plasterboard sheets / Board joints
Recommended Plug: Joint compound + Self-adhesive fibreglass mesh scrim tape
💡 Always bridge drywall board joints with fibreglass mesh tape to absorb structural settling vibrations.
🧹 Maintenance & Aftercare Tips
- Keep a small airtight glass jar with leftover matched paint clearly labeled with date and room name for future touch-ups.
- If experiencing condensation dampness in North Tenerife, see our guide on window insulation and draft proofing.
- Ventilate rooms daily for 15 minutes to prevent black mould spores on cold corners.
❓ Frequently Asked Installation Questions
Q: Why is a paint touch-up patch visible with an obvious halo?
A: This is due to natural UV oxidation of the existing wall paint and differential porosity if the filler was unprimed. Priming and feathering the wet edges with a dry roller blends the patch smoothly.
Q: What filler should I use for recurring settlement cracks?
A: Always use fibreglass-reinforced elastic polymer filler (such as Aguaplast Fibra) combined with self-adhesive scrim tape to absorb structural settling vibrations.
Q: How much does a professional painter charge in Tenerife?
A: At Manitas Tenerife we provide transparent hourly and flat rates. Check our handyman prices or message us for service in Santa Cruz & La Laguna.
Prefer a professional handyman to install it for you?
Save time and tool costs. At Handyman Tenerife, we come equipped with professional materials and specialized anchors for your exact wall type.
💬 Request Quote via WhatsApp (+34 657 674 026)