Step-by-Step Tutorial: IKEA Furniture Assembly, 3D Hinge Adjustment & Anti-Tip Wall Anchoring
Professional fitter secrets: squaring PAX wardrobes, assembling drawer runners without play, leveling on uneven floors, and securing anti-tip wall brackets.
Informational Notice: This tutorial and its instructions are provided strictly for general educational and informational purposes. They do not constitute binding technical advice or formal engineering recommendations. If you lack prior experience or tools, we advise contacting a certified Handyman Tenerife professional.
Before You Begin: Safety Protocol
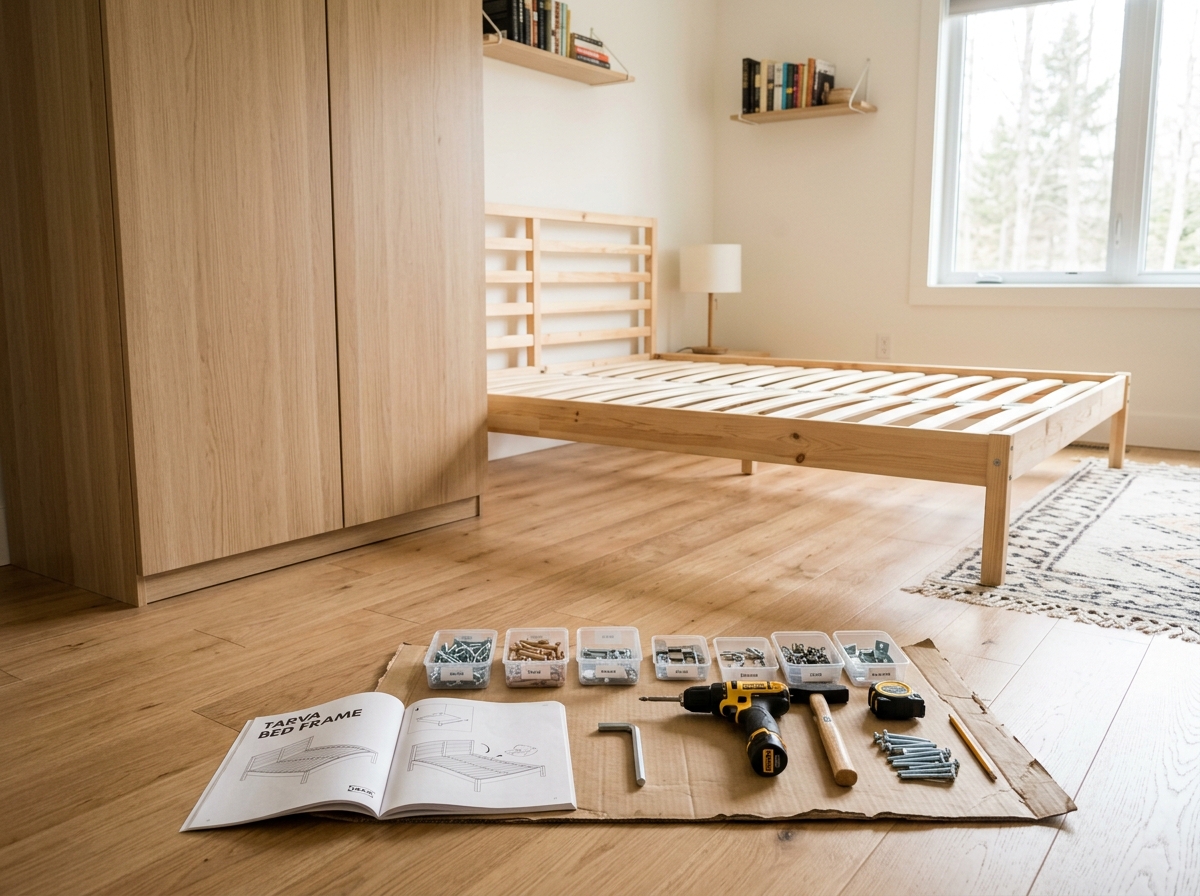
- Flatten the cardboard packaging on the floor to form a protective assembly mat and prevent scratches.
- Sort all hardware, cam locks, dowels and screws into separate containers before building.
- Ensure a clear 2-metre working perimeter around the build area.
- If assembling large wardrobe sets or complete kitchens, consider our professional IKEA furniture assembly service in Tenerife.
📦 Materials Required
- ✓ 1x Flat-pack furniture kit with original hardware (cams, dowels, connecting bolts)
- ✓ 1x Bottle of D2/D3 wood PVA glue (for reinforcing wooden dowel joints)
- ✓ 2x Heavy-duty steel anti-tip restraint brackets
- ✓ 4x Fischer Duopower 6mm/8mm universal wall plugs
- ✓ 1x Sheet of heavy felt protector pads for flooring protection
🛠️ Recommended Tools
- 🔧 Cordless drill/driver with sensitive torque clutch control
- 🔧 Pozidriv (PZ2) screwdriver bits and hex Allen bits (3, 4 and 5 mm)
- 🔧 Carpenter claw hammer and soft non-marring rubber mallet
- 🔧 60cm spirit level or self-levelling cross-line laser
- 🔧 3m or 5m steel measuring tape for diagonal square checks
📋 Step-by-Step Project Guide
Inserting connecting bolts and wooden dowels
Screw connecting cam pins into the pre-drilled side panel holes and tap wooden dowels into position by hand. Applying a tiny drop of PVA wood glue to dowel holes adds lasting rigidity to the joint.
Always use a Pozidriv (PZ2) bit rather than Phillips (PH2) on IKEA hardware. PZ2 fits without slipping or stripping screw heads.
Frame assembly and cam lock tightening
Join top, bottom and side panels together aligning pins into their respective sockets. Drop the cam locks into the holes with the marked arrow facing the incoming pin. Rotate 180° clockwise with a hand screwdriver until firm resistance locks the joint tight.
Tighten cam locks manually with a hand screwdriver to feel the locking point and avoid breaking the particleboard core.
Diagonal squaring and back panel fixing
Before nailing the hardboard rear backing panel, measure both diagonal corner-to-corner distances with a tape measure. Both measurements must match within 1 mm. Once perfectly square, nail or screw the back panel at 10 cm intervals.
Nailing the backing with the frame out of square will cause doors to bind and drawers to rub against the frame permanently.
Levelling feet adjustment and anti-tip wall anchoring
Lift the wardrobe upright with two people. Position against the wall and adjust base levelling feet until bubble level is dead centre. Mark anti-tip bracket points on the wall, drill, install 8mm Fischer Duopower plugs, and screw down the safety brackets.
Anti-tip wall anchoring is essential to prevent toppling accidents with children or pets when multiple full drawers are pulled out.
Door hanging and 3-way (3D) hinge calibration
Clip concealed hinge arms onto their mounting plates. Use the 3 adjustment screws: the lateral screw aligns gap between doors, the vertical screws adjust height, and the depth screw aligns the door flush with the carcass.
Check our companion guide on hinge adjustment and blind repairs for troubleshooting loose cabinet doors.
📊 Technical Specifications Sheet
| Diagonal squaring tolerance | Max 1 mm difference between diagonals before nailing back panel |
|---|---|
| Cam lock torque limit | Half turn (180°) clockwise until firm resistance; never overtighten |
| Anti-tip safety standard | Mandatory for units > 60 cm tall or with pull-out drawers |
| Standard shelf load limit | 15 - 25 kg per shelf evenly distributed |
🧱 Wall Anchor Selection Guide for Tenerife
Hollow concrete block wall (Tenerife homes)
Recommended Plug: Fischer Duopower 8x50mm or heavy-duty nylon knotting wall plugs
💡 In volcanic cinder block walls, drill in rotary mode WITHOUT hammer action to keep the inner cavity walls intact.
Plasterboard / Drywall stud partition
Recommended Plug: Fischer HM steel cavity anchors or self-drilling metal hollow wall fixings
💡 For heavy wardrobes like PAX, locate the vertical galvanised steel studs to drive fixings directly into the metal frame.
🧹 Maintenance & Aftercare Tips
- Re-tighten handle bolts and hinge mounting screws after the first 4 weeks of regular use.
- In humid areas of North Tenerife, apply felt pads to lift particleboard feet slightly off cold tile floors.
- Avoid overloading slide-out drawers beyond 15kg to prevent premature bearing wear.
❓ Frequently Asked Installation Questions
Q: Why are my IKEA cabinet doors crooked or rubbing together?
A: This is almost always due to an unsquared frame or uneven floor. Level the front feet and fine-tune the lateral adjustment screw on the hinges to achieve a clean, uniform 2mm gap.
Q: What can I do if a cam lock spins freely or the particleboard is blown out?
A: Pack the stripped hole with 2-part rapid wood filler or glue in a hardwood plug. Once fully cured, re-drill the pilot hole so the pin grips firmly into fresh solid core.
Q: How much does a professional furniture assembler charge in Tenerife?
A: Check our clear handyman hourly and flat rates for PAX wardrobes, storage beds, and chests. We also offer discounted Handyman Passes covering all Tenerife.
Prefer a professional handyman to install it for you?
Save time and tool costs. At Handyman Tenerife, we come equipped with professional materials and specialized anchors for your exact wall type.
💬 Request Quote via WhatsApp (+34 657 674 026)